
How to Reduce Face Drift in Rumpelstiltskin AI Video
Troubleshoot changing facial features in Rumpelstiltskin AI video. Review the reference, simplify movement, inspect the camera direction, and change one variable at a time.
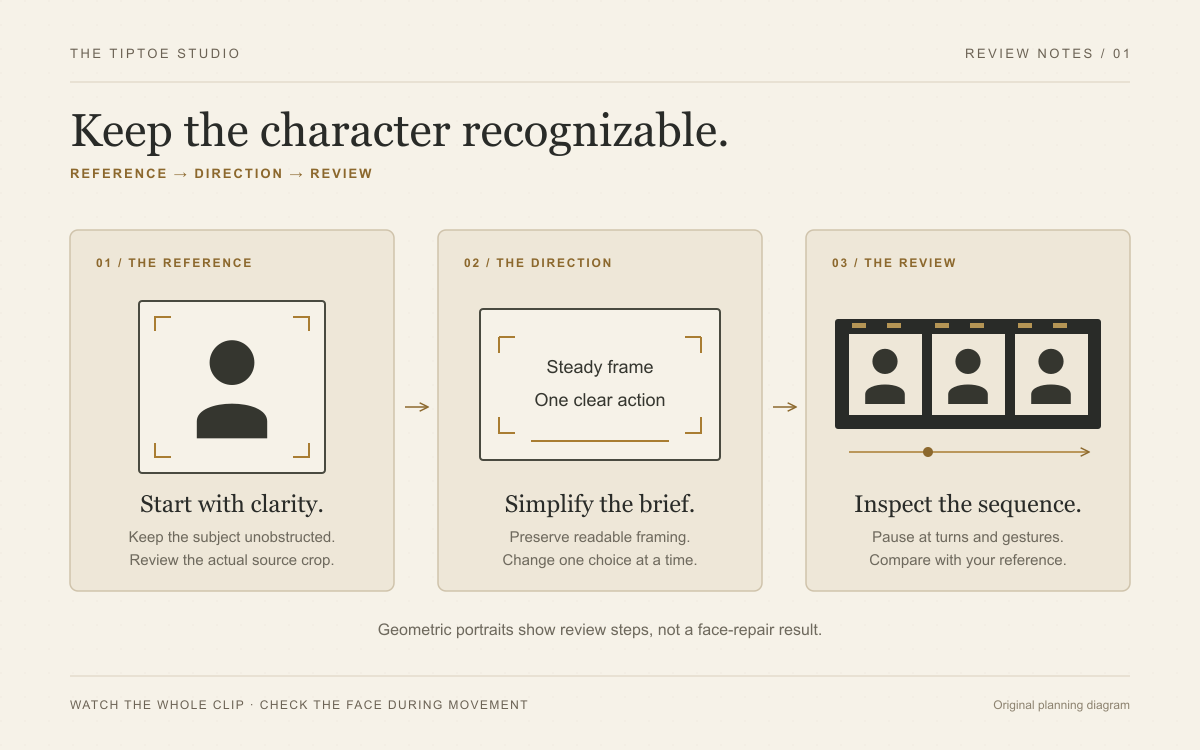
Find the moment the face changes
A convincing Rumpelstiltskin scene needs a recognizable character from the opening shush to the final glance. If the face appears to change during the clip, begin with a precise observation: what changed, and when? A different jaw shape after a turn calls for a more specific review than “the whole video looks wrong.”
Use this guide to organize that review. It gives you a practical troubleshooting sequence for the input, action, and camera direction. Generative results vary; these steps help you make deliberate revisions without promising an identity lock.
Rumpelstiltskin AI uses two fixed casting modes: You dance and You and a friend. Your available input decisions are the role assignment and the identity photos. This guide separates those practical checks from prompt or camera revisions that require an external tool with editable instructions.
1. Separate a new angle from a new-looking face
Watch the entire clip once at normal speed. Mark the first moment that draws your attention. Then compare the opening image with nearby moments that show a similar angle and expression. A profile, a broad grin, and a face partly covered by a hand are different views; comparing them directly can obscure the actual problem.
Look for specific changes: the shape of the nose, the distance between the eyes, the outline of the jaw, or a facial detail that appears and disappears. Write a short observation such as “the jaw changes after the head turns back.” Keep observations separate from guesses about the cause.
2. Inspect the reference at a useful size
Open your source image and examine the face itself. Check for blur, a heavy filter, a hand across the features, or an awkward crop. If the face is only a tiny part of the image, select a clearer portrait. In duo mode, check each photo separately and confirm that the dancer and watcher are assigned in the intended order.
Our photo preparation guide covers that choice. The studio first uses the photos as identity references for a prepared scene, then requests animation. Check whether the mismatch concerns the original identity, the prepared scene or a later moment in the video when that evidence is available.
Runway's official image-to-video guide describes the image as a guide to appearance and composition, with the text directing motion. That distinction is useful when reviewing your brief; the guide describes Runway's workflow, rather than proving a particular result in our studio.
3. Separate role mistakes from scene or motion problems
First check the photo-to-role assignment. In You and a friend, the first photo belongs to the dancer and the second to the watcher. Compare each character with the appropriate reference; do not compare the watcher against the dancer and interpret the expected difference as drift.
If the role mapping is correct, describe the mismatch precisely and keep the task reference for review. Our scene and movement instructions are fixed, with no public prompt editor. In a separate editable workflow, check that the written character description does not contradict the source identity before attempting a motion revision.
4. Simplify the moment that needs attention
The following revisions apply to external tools that expose action and camera instructions. If drift appears during a turn, a smaller turn is one hypothesis to investigate; behind a hand, inspect the occlusion. In our fixed studio, record the same observation and choose a clearer reference or report the problematic result rather than looking for a hidden camera control.
| What you notice | One revision to investigate |
|---|---|
| Features change after a sharp turn | Describe a smaller, slower head turn. |
| The face becomes unclear behind a hand | Keep the gesture brief and the eyes visible. |
| Appearance changes during a camera move | Hold the camera steady for the next comparison. |
| The prompt describes a different-looking person | Align the character description with the reference. |
A concise direction might be: “The character gives a small shush, lowers the hand, takes measured sideways steps, and ends with a slight glance toward the camera. Keep the camera steady.” Use our prompt collection for an external custom brief, without changing every element at once.
5. Compare the sequence, one revision at a time
For our studio, record the mode, role photos and task reference; for an external prompt test, also record the exact instruction changed. When you have a completed result, watch it normally first. For closer inspection, download the clip and use a player or editor with frame stepping. Compare the opening, the suspicious moment, and the ending. The studio provides preview and download controls; detailed frame stepping belongs to your chosen review tool.
One changed variable makes your notes more useful, although a single improved result cannot establish a reliable cause. Stop repeating an unsuitable setup: if the same issue remains, reconsider the reference or simplify the scene.
This space is reserved for a verified output screenshot from our site. It is not a generated result preview.
Use our 768P video-quality checklist to inspect the rest of the performance. Keep your next decision specific. Turn a clear observation into precise creative direction. Our studio keeps the next input decision clear: improve the photo or correct the role assignment. Return to the two casting modes with a specific observation and one useful change.